You can add and drop courses, view your schedule, and submit PERMs (Permission to Enroll System) on the CMC portal.
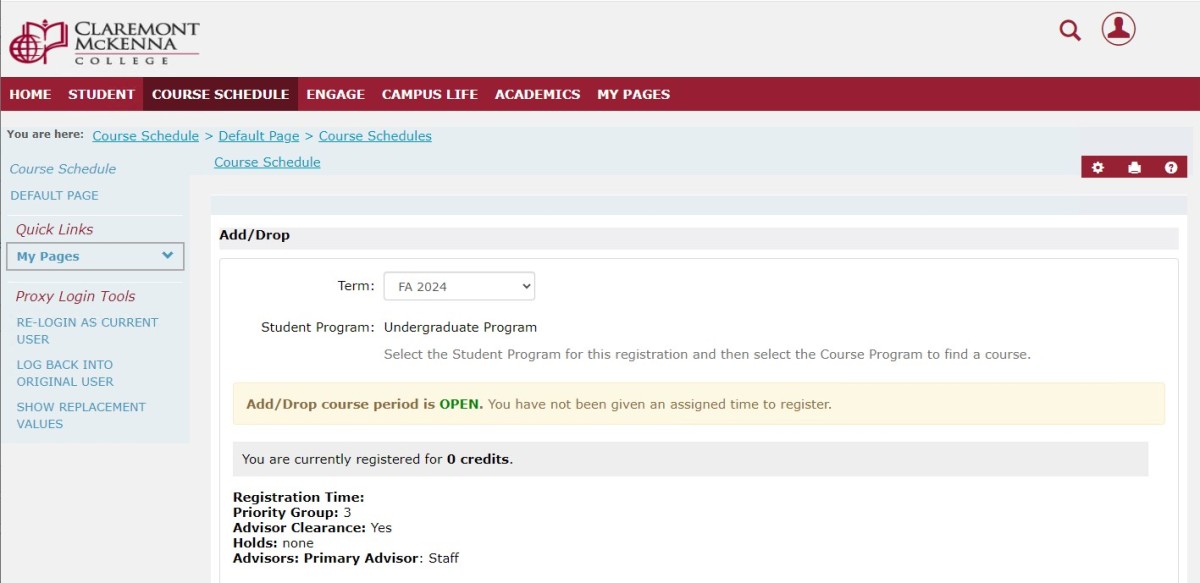
Finding your Registration Time
You can only register during your appointed registration time. Click the “Course Schedule” tab, and confirm that the term you see is correct. Below, you can see your registration time, your priority group number, your advisor clearance, and your holds, if any.
Searching for Courses
From the “Course Schedule” tab, scroll down to Course Search. Here you can search by course title, course code, course area; you can also see your schedule.
There are a few different ways to find courses:
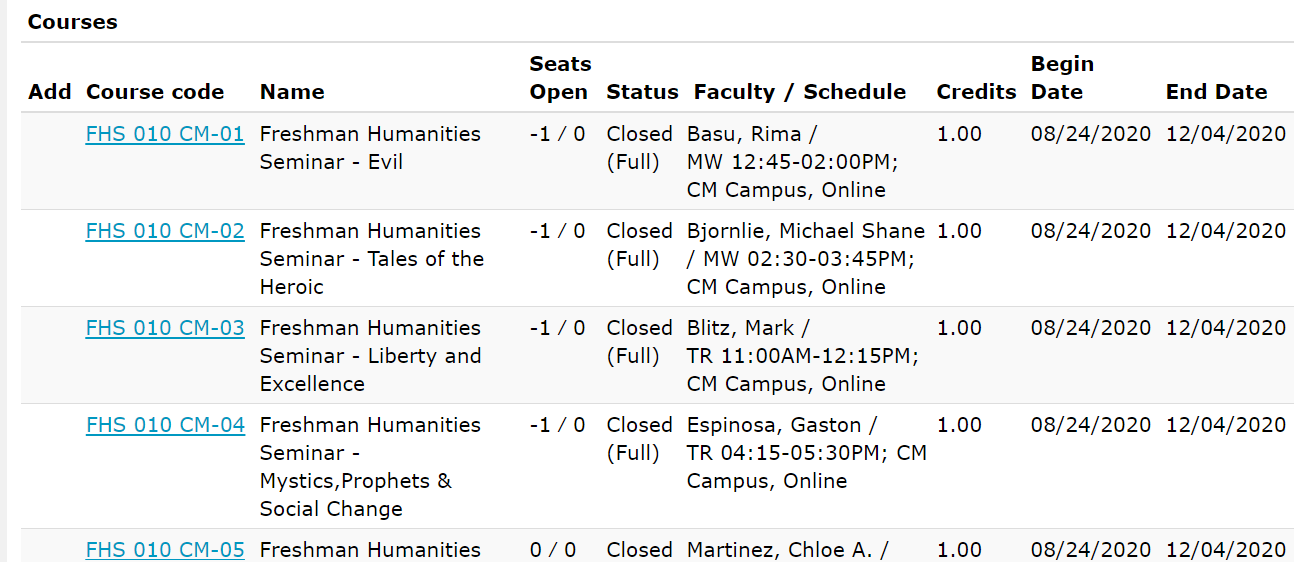
Search by Course Code
If you search for courses beginning with “FHS”, you’ll find all the FHS courses being offered in the selected term.
![]()
Search by Course Area
Use this method to find all courses that satisfy a specific requirement.
![]()
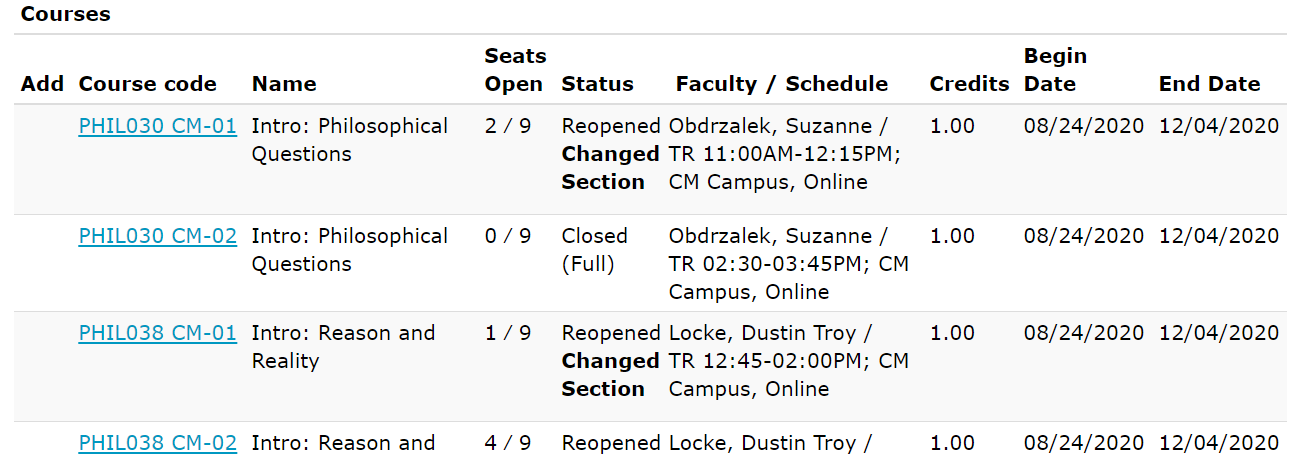
Here are some course areas that are especially useful for CMC students. Searching for a course area will produce all the courses that satisfy that particular requirement.
- CMC History GE
- CMC Lab Science GE
- CMC Lit Humanities GE
- CMC Mathematics GE
- CMC Philosophy GE
- CMC Psychology GE
- CMC Religious Studies GE
- CMS Varsity Sports
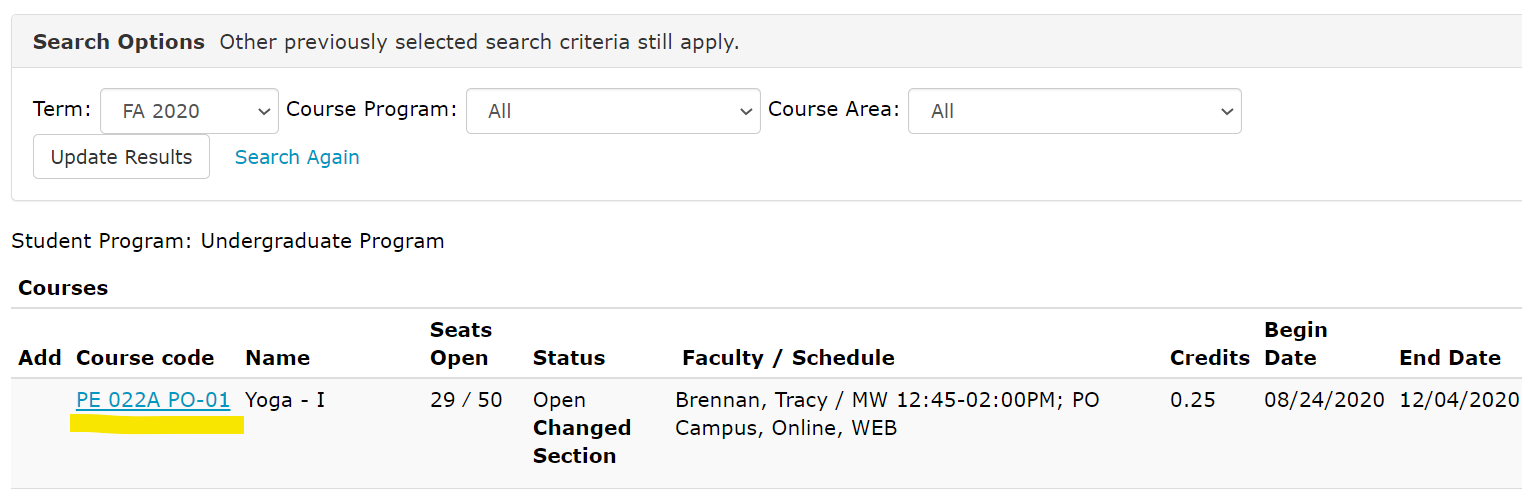
Search by Title
It is often good to change the operator from “Begins With” to “Contains”, since not all course titles start exactly the same, and some are abbreviated.
![]()
Adding a Course
When you’ve found a course you want to add, follow these steps:
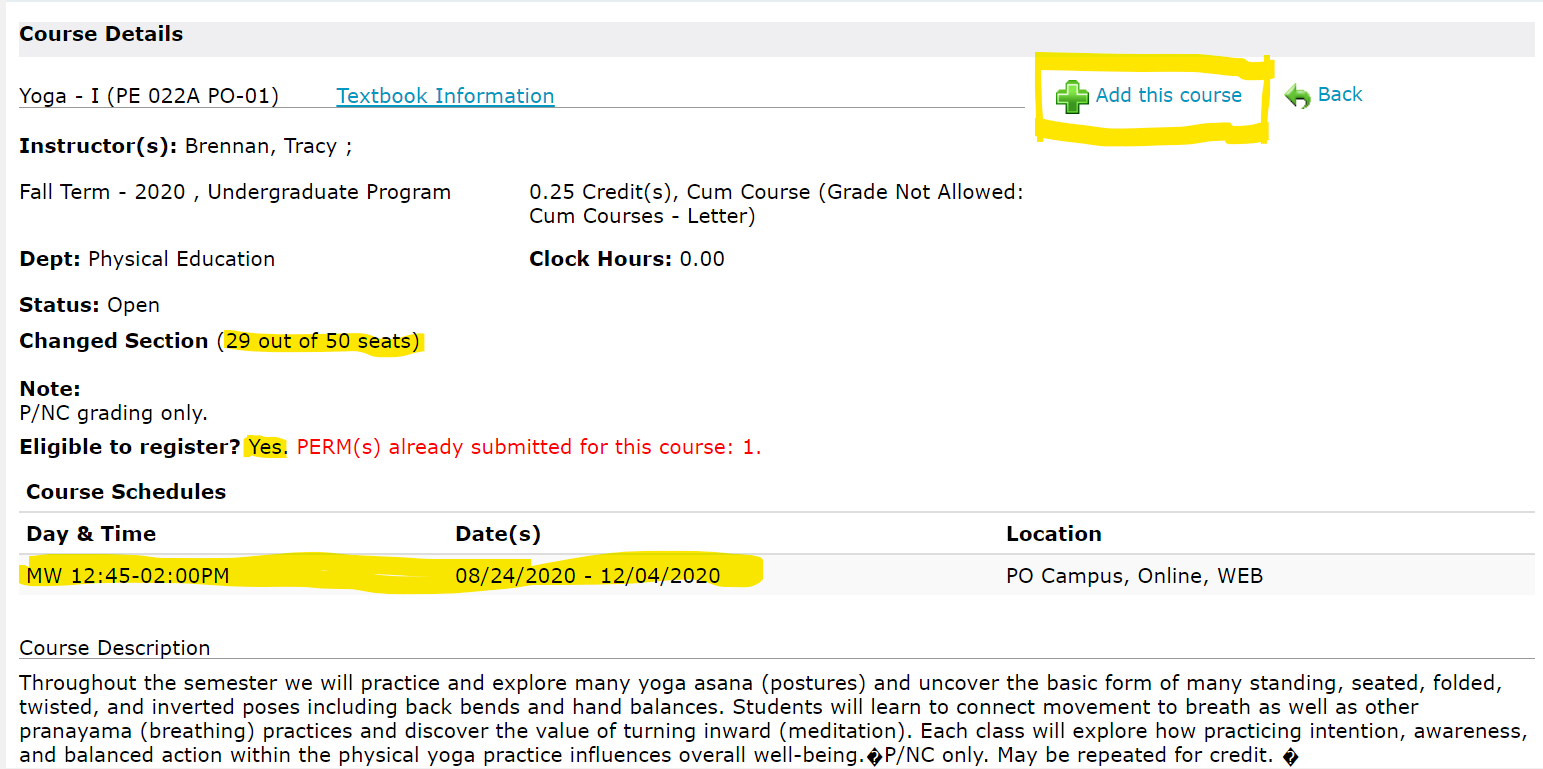
- Click the course code in the search results.
- You will see details about the course section, including the number of seats available, the day and time, and whether you are eligible to add the class. If the portal says Eligible to Register? Yes, you can add the course. Click the “Add this course” button.
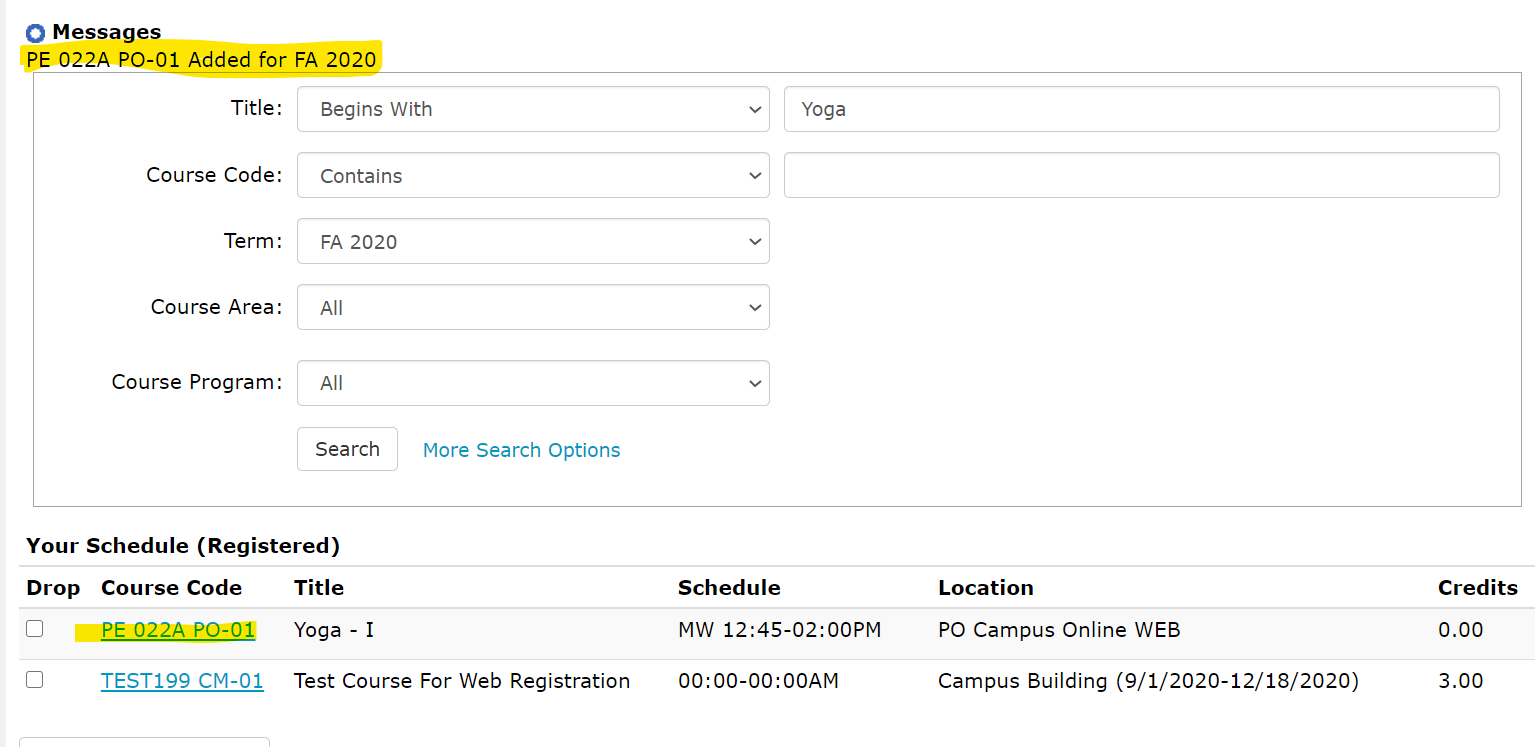
- You will be sent back to the course schedule screen, and a message will appear letting you know if the add was successful. You can also reference your schedule below to confirm the new course was added.
Troubleshooting
Why did the portal kick me out?
The portal will kick you out if you use the “back” button on the browser, or execute a Search or Add command too many times. Don’t use the back button in your browser; instead, use the “Back” button within the portal itself, or click “Course Schedule” to start over.
The portal says “Eligible to Register? Yes” but there is no add button.
You can only add courses during your registration time. If you are eligible to add a course, the portal will say so, but you still need to wait for your registration time to arrive.
Why am I not eligible to add a course?
If the course is closed, or restricted to a certain population of students, you may need a PERM (PERMission to Enroll system) to add the class. Go to the PERM section of our FAQ for more information on submitting PERMs!